How I Published my Website with Pelican
Posted on 12 October 2022 in posts

I wanted to write a blog for a long time, to discuss about any of my endeavour that doesn't strictly fall in the scientific research category, but will consist of both personal and academic projects.
As the title suggest, in this first blog I want to present to you how I created my website, by taking HUUUUUUUUUUUUUUUUUUUUUGE inspiration from Ethan Rosenthal's blog.
Using Pelican
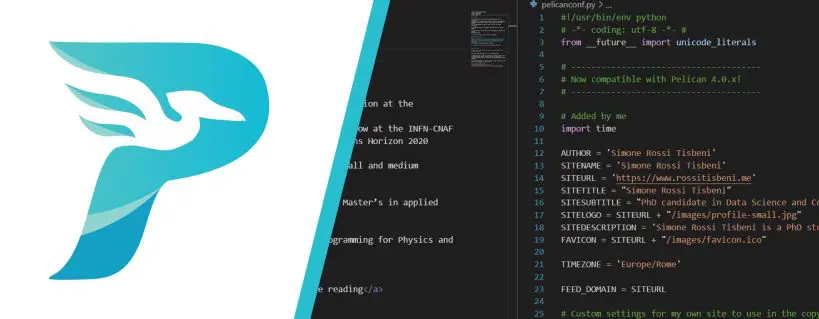
For the website, I choose to use the Pelican static site generator. The reasons I choose Pelican are many:
- Pelican is written in python, which is a language I'm very familiar with;
- It allows me to write content in Markdown in my own editor of choice
- It is easy to deploy, both locally and remotely
- The community provides a lot of ready to use themes, with an easy way to customize them with CSS files.
In the past years I messed around a lot with creating my own website, by programming it plainly with HTML, CSS and JS. But those solution didn't provide me with enough flexibility to allow me to host a blog in the same space.
I tried different static site generator, always finding them difficult to personalize due to the fact that you always had to mess with themes to make any changes. While not impossible, I didn't really want to learn Jinja, or Go to mess with templates.
Pelican allows me to simply add a custom CSS file for all my personalization need and in my markdown file I can easily add custom HTML content to enrich the blog post with .
GitHub pages
Once chosen the "backend", I decided where to host the website. My choice immediately fell to GitHub Pages.
I already used the service quite successfully in the previous iteration of my site, as well as for other projects. Moreover, since I already planned to use GitHub to host the source code for the website, using Pages for its deployment seemed natural.
Setting up a static website in GitHub Pages is quite simple; only requiring you to create a repository titled <username>.github.io with an index.html file in it. After deployment, the website will be running on https://<username>.github.io and, by default, any commit on the main branch will launch a new deployment and subsequent update to the website.
Automate the site deployment
What Pelican does is take a list of files (Markdown articles, static content, custom themes) and process them into the desired output in a specific folder. This directory, after the generation, will contain all the HTML, CSS and JS files that compose your website.
Since only these file are needed for publishing the website, Pelican supports by default the ghp-import package that can copy a directory to the gh-pages branch of the repository.
In my case, I wanted to keep private the repository with the full source code of the website (I'd say for privacy issues, but mostly because I know I'm the one who's gonna mess up and leave some sensitive content in the repo history). For this reason I wanted to connect the gh-pages branch of my private repository to the main branch of my public https://github.com/rsreds/rsreds.github.io/ repository.
Running the following commands in my private repository allowed me to obtain the desired effect:
pelican content -o output -s pelicanconf.py
ghp-import output
git push git@github.com:rsreds/rsreds.github.io.git gh-pages:main
the only issue with this system is that the commit message would be a useless "Update documentation" every single time. ghp-import allows to pass a commit message as an argument, but I didn't want to manually specify it each time.
For this reason I decided to hook the publish of my website, to each new commit on the private repository. I did this via the git hook post-commit, and I solved the commit message issue by passing the last commit message as an argument to the ghp-import command.
pelican content -o output -s pelicanconf.py
ghp-import output -m "$(git log -1 --pretty=%B)"
git push git@github.com:rsreds/rsreds.github.io.git gh-pages:main
I would have preferred to have the hook tied to a push, but this is not yet possible with git hooks, from the local repository.
Finally
Just to stick to the format I copied up until now.
I done a few more thing to customize my blog. In particular I used the CUSTOM_CSSconfiguration option, provided by Flex (my chosen theme for the site) to link an additional CSS file where I could override the default options.
Since the theme supported only one of such files, I used the @import function to make sure that I could split my CSS files in order to make them more readable and easier to edit.
I would like to add Google Analytics support to my site, as well as Disqus for comments underneath the articles, but I'll wait on that and probably update this blog, or create a new one.
In the meantime, thank you for wasting time reading this, see you on the next post.